
| Minimum Software Version | 8.18.10 |
| Solution(s) | Cases International ✓ Cases US ✓ Institutions ⨉ Counsel ✓ |
The Image component is designed to display visual content within the portal, such as law firm logos or other branding imagery. To ensure consistency and proper management, images must first be uploaded to and named within the main Portal Builder before being selected for use on a page.
Users can configure the image and optionally include a caption. Image selection is handled through a dedicated Select Image dialog, which allows browsing, searching, and uploading images.
Step 1: Upload Images to the Portal Builder
Before adding an image to a page, ensure it is uploaded and named in the Portal Builder.
- Open the Portal Builder.
- Upload the desired image and assign it a name.
- Confirm the image appears in the image library.
Example:
Upload a law firm logo named “Firm_Logo_Main” for reuse across multiple pages.
Step 2: Add an Image Component to the Page
- Add the Image component to the desired page layout.
- Open the Properties tab.
Step 3: Configure Image Properties
In the Properties tab, configure the following options: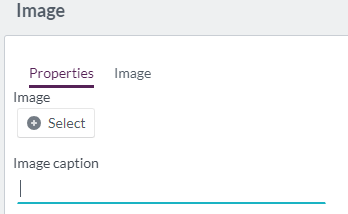
| Option | Explanation |
|---|---|
| Image | Select an image that has been uploaded to the Portal Builder. |
| Image caption | Enter a caption or heading for the image (maximum 100 characters). |
Clicking the Select button opens the Select Image dialog box.
Step 4: Select or Upload an Image
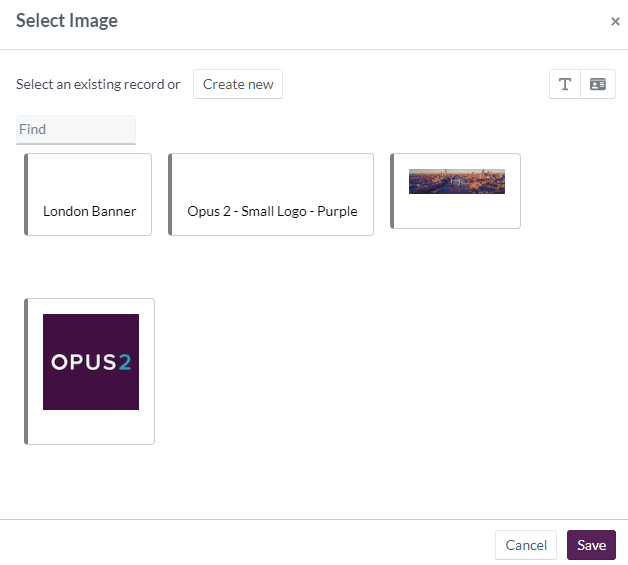
From the Select Image dialog box, users can:
- Browse images already uploaded to the Portal Builder
- Use the Find option to search for images by name
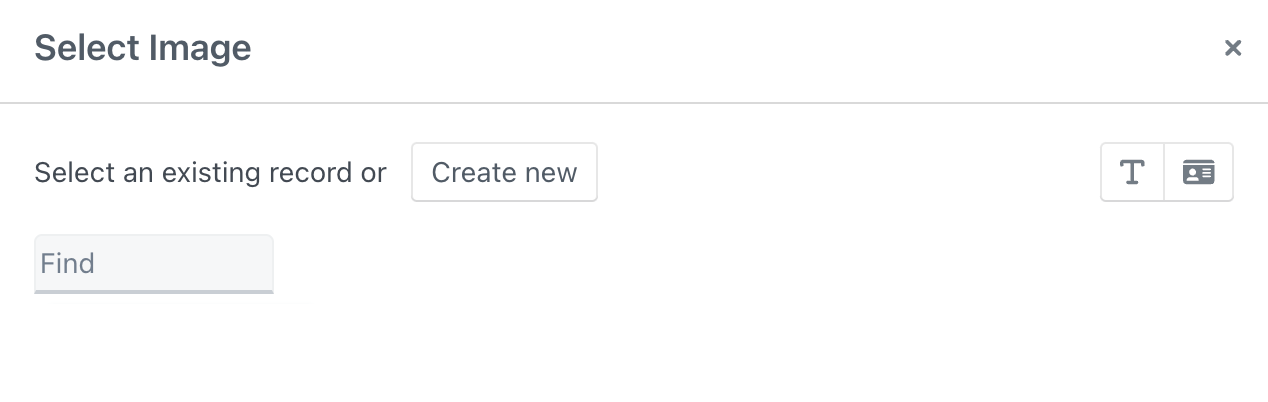
- View images in:
- Text view (named images only)
- Gallery view (all images, including unnamed images)
Users may also upload a new image by selecting Create new, then dragging and dropping a file or browsing local files. When uploading, users are prompted to enter a name for the image.
Example:
Search for “logo” using the Find option to quickly locate branding images.
Step 5: Use the Image Tab
From the Image tab:
- Users can select an image only if no image has already been selected in the Properties tab.
- Clicking Select Image opens the same image selection dialog box.
- The Create Image option is available but will not upload the image to the Portal Builder correctly and should not be used for production images.
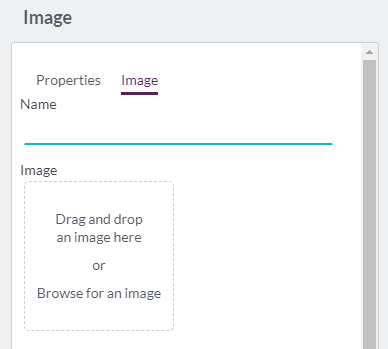
| Option | Explanation |
|---|---|
| Select image | Opens the standard Select Image dialog box. |
| Create image | Allows naming and selecting an image file, but does not correctly upload it to the Portal Builder. |
Important:
Always upload images via the Portal Builder or the Create new option in the Select Image dialog to ensure proper availability.
Display example of 'image' component:

Related Links
Use the Image component to strengthen portal branding and visual identity by consistently displaying approved, centrally managed imagery.