The worksheet ‘Display’ menu option allows users to change the layout of worksheet data depending on the type of data it may contain, or any card that may have been configured.
TABLE OF CONTENTS- Worksheet record layout options
- Displaying individual records
- Change worksheet default display layout
Worksheet record layout options
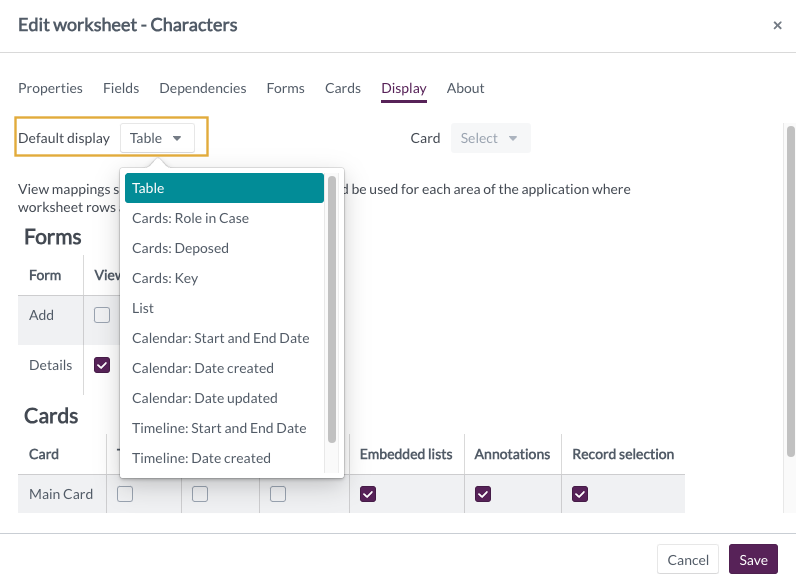
The Display menu has five options: Table; Card; List; Timeline and Calendar
Table display
The default display layout of all worksheets is Table format. This presents data like a spreadsheet, with rows and columns. The first row in the worksheet is the header, where the name of each field is presented as the column title.
Card display
Card display is available for any worksheet that has a field of type ‘Choice’ in it. When this display mode is selected, each choice option becomes a column, and each record in the worksheet is displayed in the column representing the choice option currently selected for the record.
Records in card display mode can be dragged and dropped between columns to change the choice option setting for that record.
If the choice field is configured to allow empty selection, a column titled ‘Not set’ will be included in the Card display mode. Any records that do not have a choice option set will be displayed in this column.
When in Card display mode, not all data in each record will be displayed by default. If no card has been configured for the worksheet, the card will be displayed in Standard card mode.
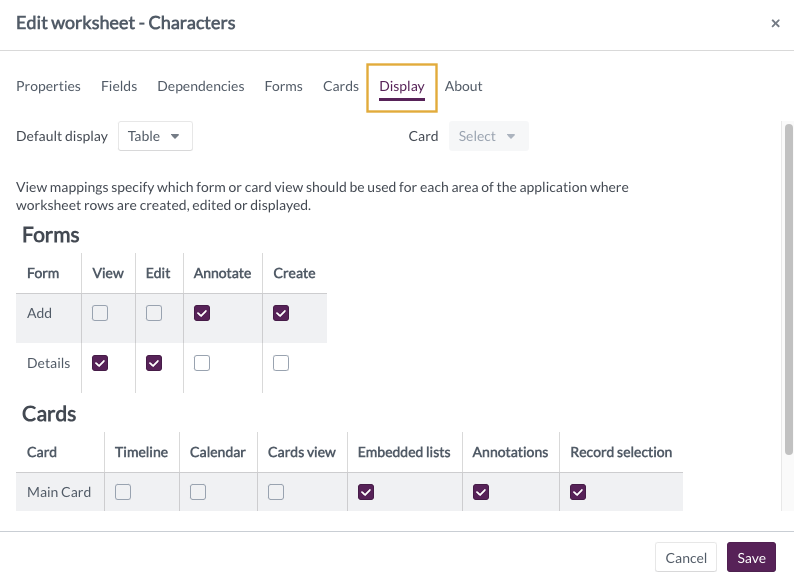
You can change the default display card and choose which fields should be displayed in Card view mode by configuring a card for the worksheet and setting it as the display option for ‘Card view’ mode in the view mappings tab.
List display
List display mode shows worksheet records as cards in a scrollable list. If no card has been configured specifically for list display the list will show list of cards in Standard card mode.
Timeline display
A timeline is available for any worksheet that has a field of type ‘Date’ in it. When this mode is selected, each record in the worksheet is displayed as a card along a horizontal timeline. Cards are displayed chronologically, from the earliest to the furthest left of the timeline. You can choose which card to display in the Card picker drop down menu. If no card has been configured for the worksheet, the Standard card will be displayed.
The scope of the timeline is set dynamically based on the first and last date available in the worksheet data. This is generated by the system and can only be adjusted by adding new records. If a record is added to the worksheet with an earlier or a later date than the existing records, the timeline will update accordingly.
The timeline display consists of two parts – the main display panel shows the cards for any date that has been added to the worksheet. This panel can be scrolled through horizontally.
The bottom display panel shows the full timeline that has been dynamically set according to the dates in the worksheet records. To manually adjust the timeline scope in the main display panel you can drag the grey triangular markers that sit on the bottom timeline along the horizontal line. The space between the two grey markers corresponds to the scope of the visible timeline in the main panel. This space is shaded in blue and can be dragged along the timeline to quickly scroll to specific dates. To help visualize where there are a lot of dates, records are marked as brief lines on the bottom display panel.
Calendar display
Calendar display allows you to see all the events in a worksheet listed inside a calendar. The default view is per month, but this can be changed to view events per week, events per day, or agenda view, which lists events per month in a table. Agenda view does not list every day of the month, only those that have events associated with them.
Calendar display is only available for worksheets that have a ‘date’ field type configured.
When changing to calendar display, the default view is the current month. You can move forwards and backwards in the calendar view by clicking on the ‘Next’ and ‘Back’ buttons. The ‘Today’ button returns the view to the current date.
If all the events in a worksheet take place at a different point in time from the current, there is a date picker available to choose which year and month to display. The year range available in the date picker is 1900 – 2050. It is possible to enter dates before or after this range and display them in calendar view, but you need to scroll through the calendar using the ‘Back’ or ‘Next’ buttons to access them.
Displaying individual records
Individual records in a worksheet are displayed in the right-hand side details panel. Any record that is highlighted in the worksheet will automatically be displayed in this panel.
If the relevant worksheet has any fields of type remote record or subtype, the details panel displays any related remote records or sub-records in a separate tab in the panel.
If a field of type ‘document’, ‘multiple documents’ or ‘text in a document’ exist in the worksheet, any document that has been added to the record will be displayed in preview mode in a separate tab in the details panel. The preview allows you quickly access the document viewer from the worksheet by clicking on the preview. If multiple documents have been added to a record, there is a drop-down menu in the details tab allowing you to choose which document to display.
If a document that has been added to a record contains links to other documents, the panel will also display any incoming or outgoing links from the relevant document.
Change worksheet default display layout
The default display layout of all worksheets is Table format. Administrators can set the display option for the worksheet to Card view, List view, Timeline view, or Calendar view depending on the configuration of the worksheet.
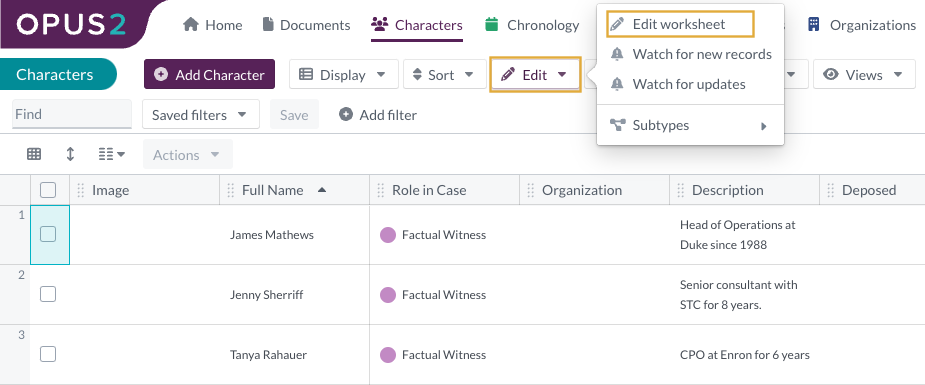
1. Open the desired worsksheet
2. Click on the Edit button
3. From the drop down list select the option Edit worksheet
4. From the 'Edit worksheet' dialogue box, select the tab Display.
5. Select the display option from the Default display drop down.
5. Click on the Save button to save the changes.