
| Minimum Software Version | 8.18.10 |
| Solution(s) | Cases International ✓ Cases US ✓ Institutions ⨉ Counsel ✓ |
Explains how to add annotations (notes) to a transcript by selecting text within the Transcript Viewer.
Opus 2 allows users to annotate transcripts by adding notes against selected portions of transcript text. These annotations are useful for commentary, analysis, and collaboration during transcript review. Annotations are created directly within the Transcript Viewer by selecting a range of text and adding a note.
Note: Designations are handled separately and are not covered in this article.
Annotating a transcript
- Open your project and navigate to Documents.
- Locate and select the transcript you want to annotate.
- Select the preview panel to open the Transcript Viewer.
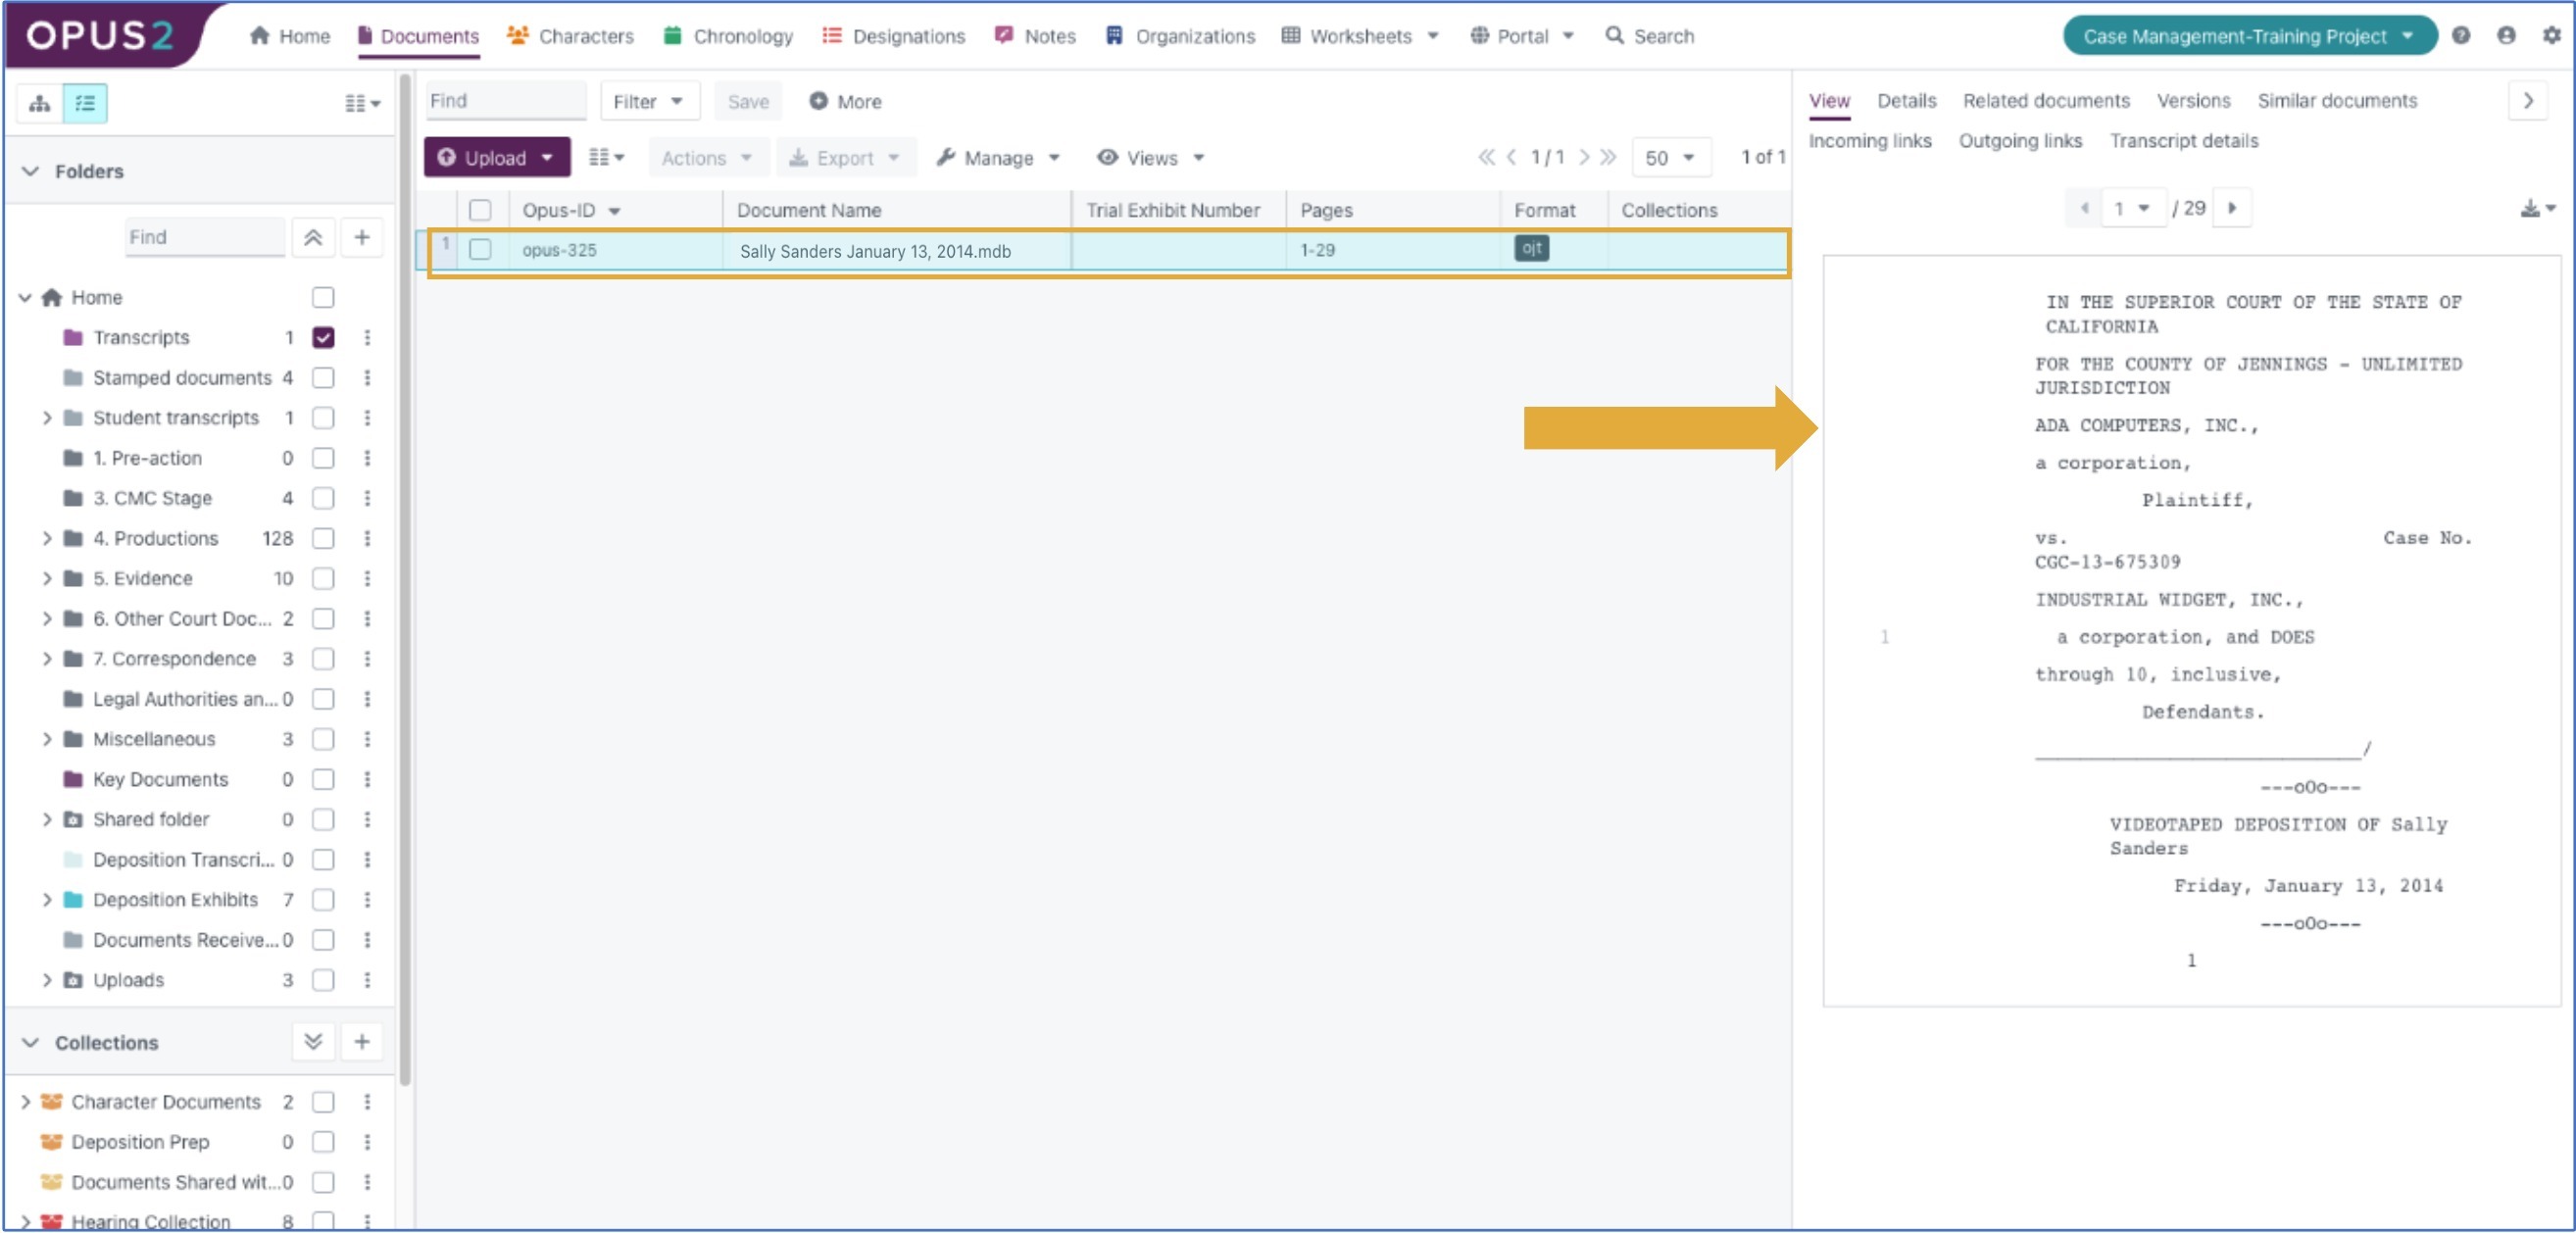
- Navigate to the page where you want to add the annotation.
- From the toolbar, choose the selection tool and highlight the section of transcript text you want to annotate.
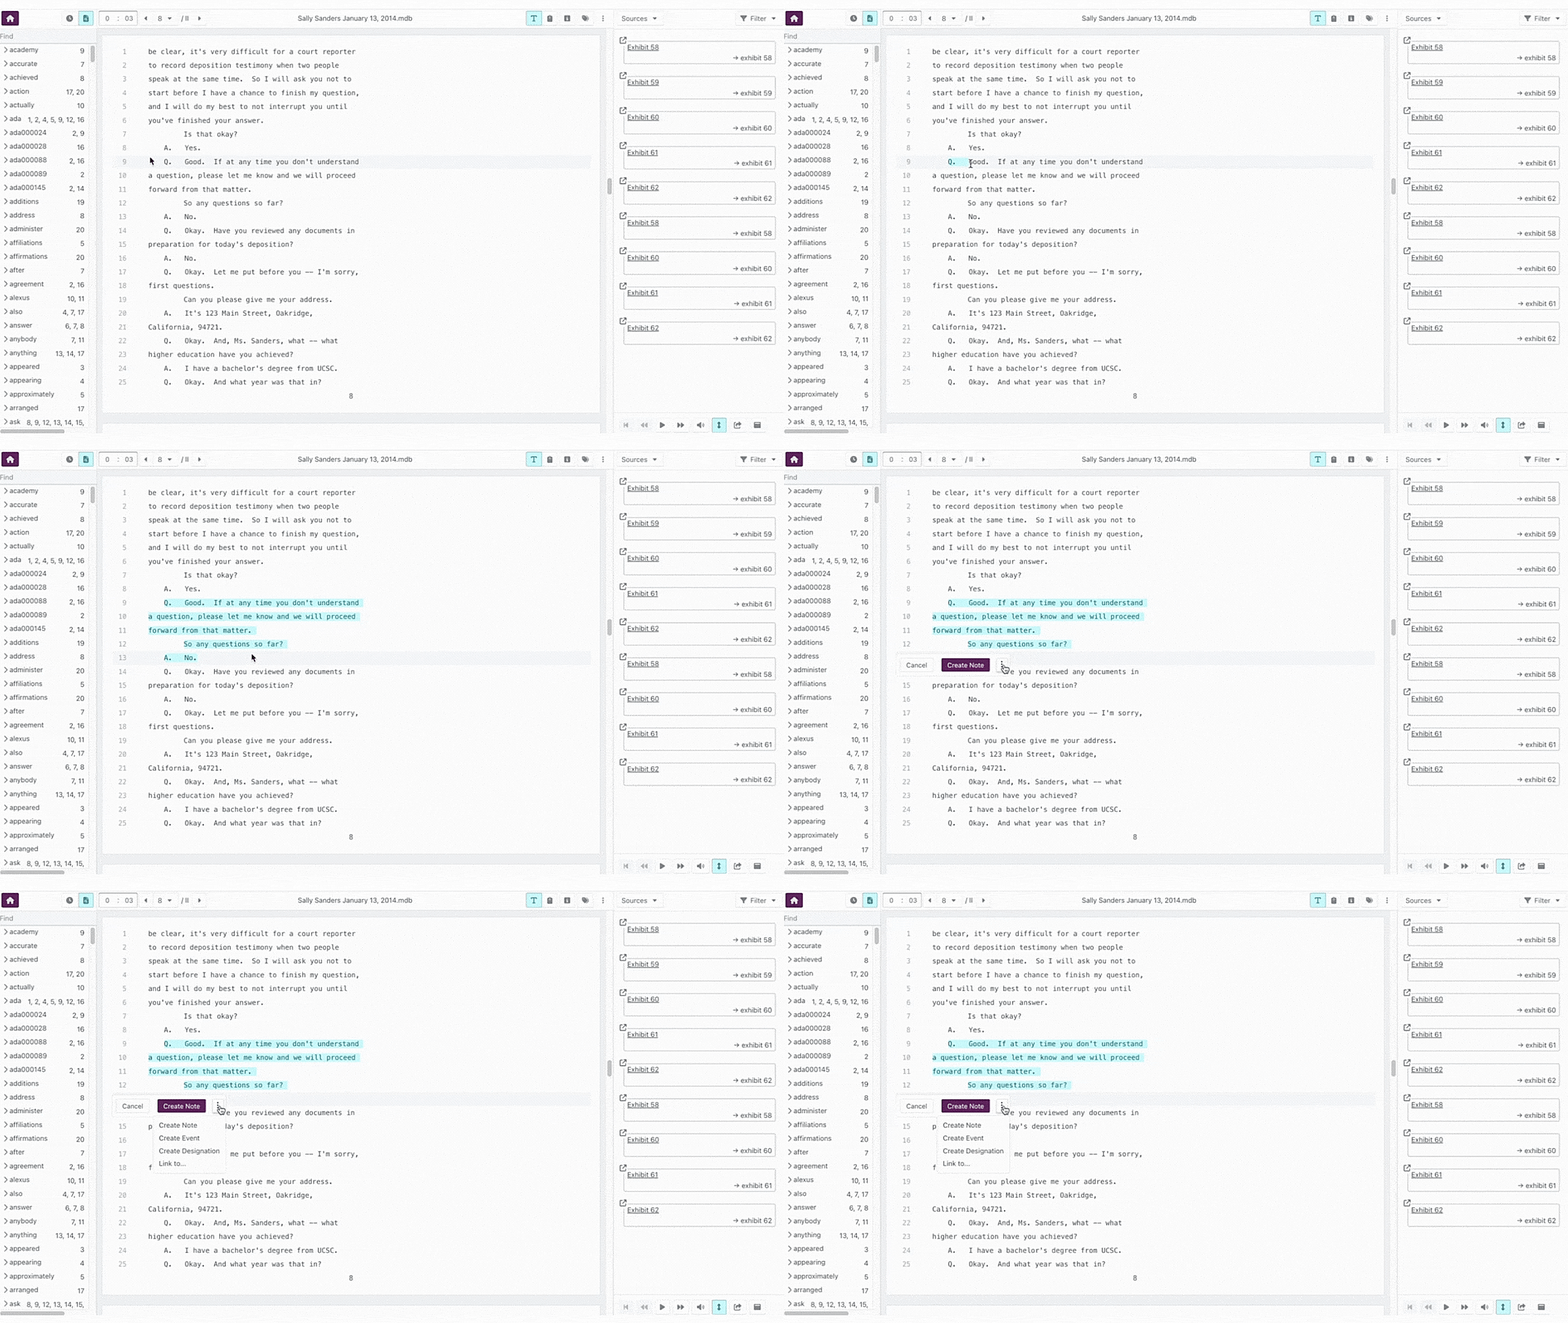
- When the pop-up appears, select Create Note. The Add Note dialog opens.
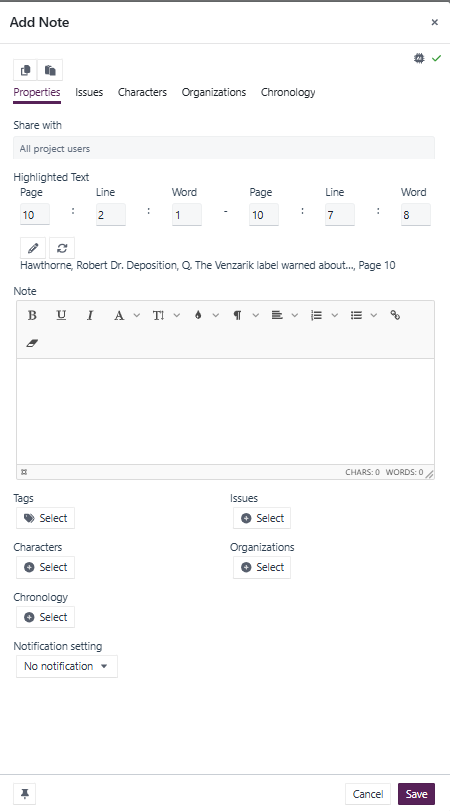
- Adjust the annotation range if needed by:
- Editing the Page, Line, or Word numbers, or
- Selecting the media icon and moving the slide controls on the video playback.
- Enter the text of your note.
- Select Save to complete the annotation.
Related links
Related documentation
Opus 2 has help information accessible within the application; click the question mark and then select Documentation in the upper-right area of the platform. You can also access the documentation at: Opus 2 Support.
How to contact us
To contact us about the documentation, or if you have any other questions or issues about Opus 2 solutions, contact Opus 2 Platform Support by emailing Opus 2 Platform Support.