
| Minimum Software Version | 8.18.10 |
| Solution(s) | Cases International ✓ Cases US ✓ Institutions ⨉ Counsel ✓ |
Explains how to add and configure the Text Block component in the Portal Builder, including text formatting, background styling, and heading image options.
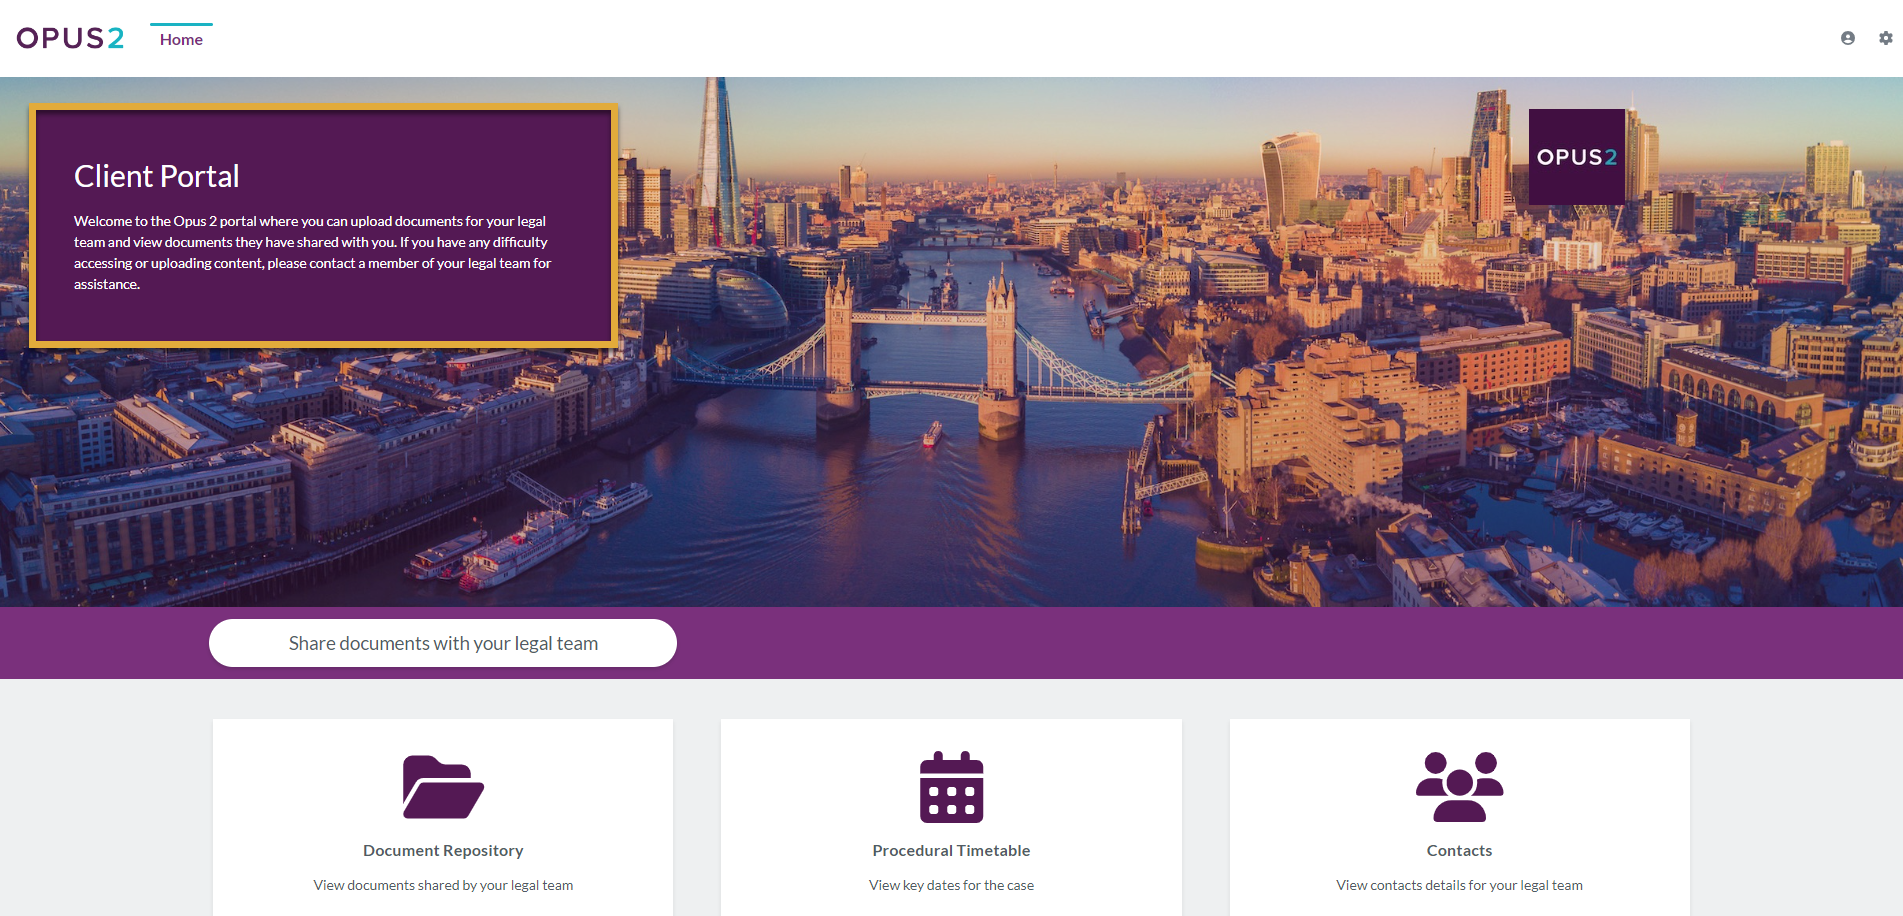
The Text Block component is a flexible portal element for displaying written content such as introductions, instructions, announcements, or descriptions. Text can be edited directly and its appearance configured using the Properties tab. A heading image can also be added to enhance the visual presentation of the component.
Adding a Text Block component
- Open the Portal Builder.
- Select the Text Block component from the available portal components.
- Add it to the desired location on the page.
Example: Use a Text Block at the top of a portal page to introduce users to the purpose of the site.
Configuring text properties
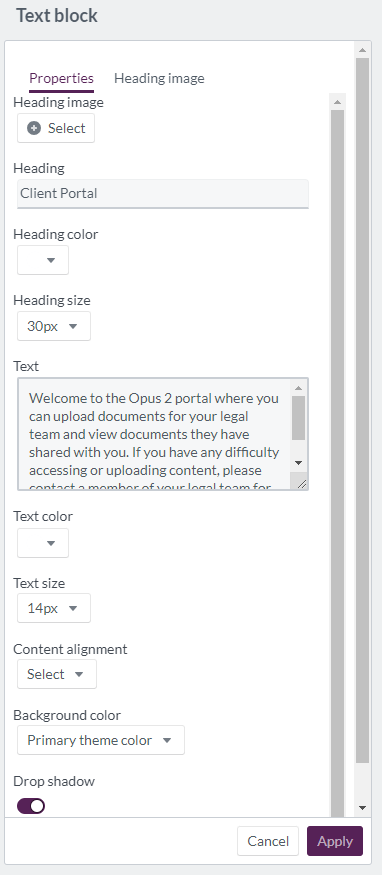
In the Properties tab, configure the following options:
| Option | Description |
|---|---|
| Heading | Enter a heading (maximum 100 characters). |
| Heading colour | Select a colour using the colour wheel, hexadecimal, or RGB values. |
| Heading size | Set the heading size between 12px and 72px. |
| Text | Enter the main body content for the text block. |
| Text colour | Choose a text colour using the colour wheel, hexadecimal, or RGB values. |
| Text size | Set the text size between 12px and 72px. |
| Content alignment | Align content to the left, centre, or right. |
| Background colour | Choose from theme background, white, site primary or secondary colour, or define a custom colour. |
| Drop shadow | Enable to visually separate the text from the background and increase prominence. |
Example: A centred heading with a large font size and a subtle drop shadow can be used for section titles.
Adding a heading image
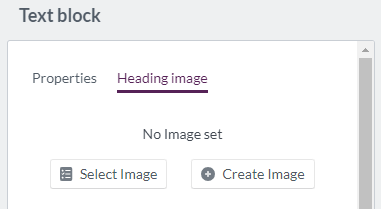
- Open the Heading image tab.
- Select Select image to browse images already uploaded to the Portal Builder.
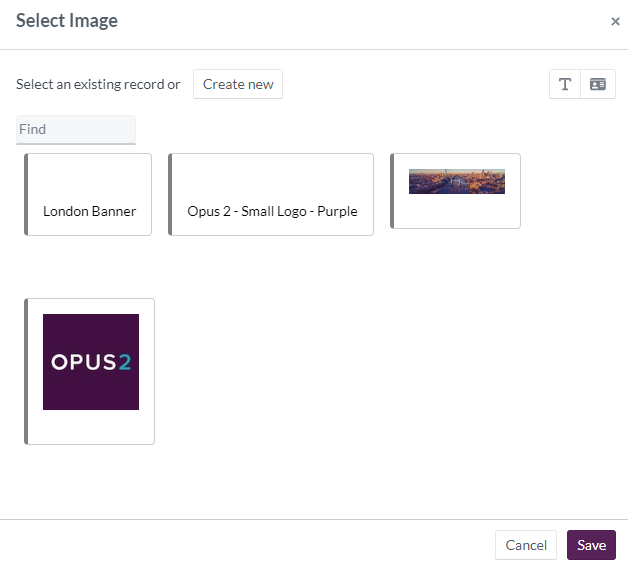
- Use the Find option to search for images by name.
- Use the list view (T icon) to browse images by name only.
- Use the gallery view to display all images, including unnamed ones, with any names shown below.
- To upload a new image, select Create new, then drag and drop an image or browse your local files. You will be prompted to enter a name for the image during upload.
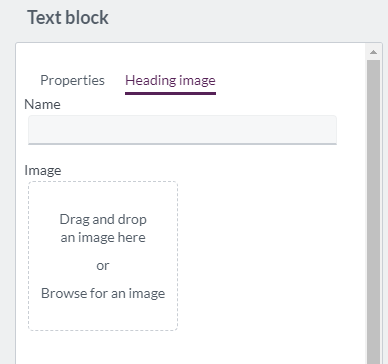
Important: Using the Create image option within the text component without uploading through the Portal Builder will not correctly add the image to the portal. Always use Select image or Create new to upload images properly.
 Related links
Related documentation
Opus 2 has help information accessible within the application; click the question mark and then select Documentation in the upper-right area of the platform. You can also access the documentation at: Opus 2 Support.
How to contact us
To contact us about the documentation, or if you have any other questions or issues about Opus 2 solutions, contact Opus 2 Platform Support by emailing Opus 2 Platform Support.