
| Minimum Software Version | Spring26 |
| Solution(s) | Hearings ⨉ Cases International ✓ Cases US ✓ Institutions ⨉ Counsel ✓ |
Explains how to apply legacy stamps to documents, set default stamps on collections, and use stamps during document export.
The Opus 2 Platform allows for the creation of bespoke legacy stamps. Stamps are configurable collections of document metadata that can be laid out and styled, and can be applied to individual documents or collections. All document metadata may be added to a stamp, along with open text and images.
Note: A new stamp builder has been introduced — the previous version is now labelled "legacy". The new stamp version is automatically enabled on all new projects and can be enabled for existing projects on a per-project basis. Stamps created in each version are preserved independently. To enable the new stamp builder on an existing project, contact your firm's system administrator.
There are three key ways to work with stamps:
- Applying stamps to documents
- Setting default stamps on collections
- Using stamps on document export
Applying stamps to documents
- In the Documents page, select a document.
- Select Actions > Apply stamps.
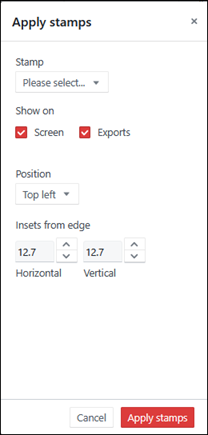
- Choose a stamp and configure the following options:
| Option | Description |
|---|---|
Stamp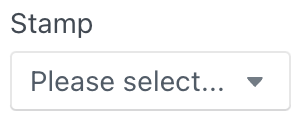 | Opens a dialog with a list of all stamps and a Find function. Select any existing stamp to apply to the document. Select Manage stamps if you need to create a new stamp. |
Show on | Choose whether the stamp should appear on screen when users are working on documents in the platform, on document exports, or both. For example, a stamp with legal firm branding may be useful on exported documents but not necessary for internal users. A stamp using internal identifiers may be useful for platform users but unnecessary on exports. |
Position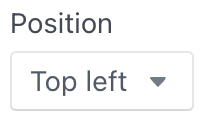 | Select the position the stamp should appear on the document page. Options are: Top left, Top right, Bottom left, Bottom right. The stamp initialises with an inset of 12.7mm from the closest horizontal and vertical edge of the selected position. |
Customising the stamp position
Stamps can be moved to a customised position either in the Apply stamps dialog or in the Document Viewer on an individual page.
In the Apply stamps dialog:
| Option | Description |
|---|---|
Inset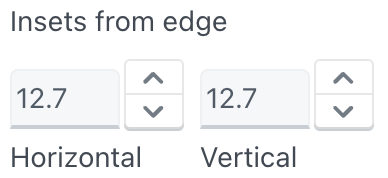 | Enter numerical values to determine the placement of the stamp using the horizontal and vertical inset from the page edge. The inset is counted from the selected position (for example, top left) and the value is translated to millimetres on the actual page. |
In the Document Viewer:
When working on a document to which a stamp has been applied, drag the stamp on an individual page to change its position. This is only possible if the stamp was initially added in a default position.
Setting default stamps on collections
When creating a collection, default stamps can be set. When any document in the collection is viewed, the stamp is applied.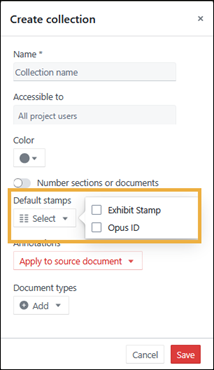
Note: When viewing the same document via a folder, the stamp is not applied — it only applies when the document is viewed through a collection. Similarly, if the collection is exported the stamp is included, but if the same documents are exported from a folder the stamp is not included.
Using stamps on document export
Stamp-related options are available when exporting a document. For more information, see Export settings reference.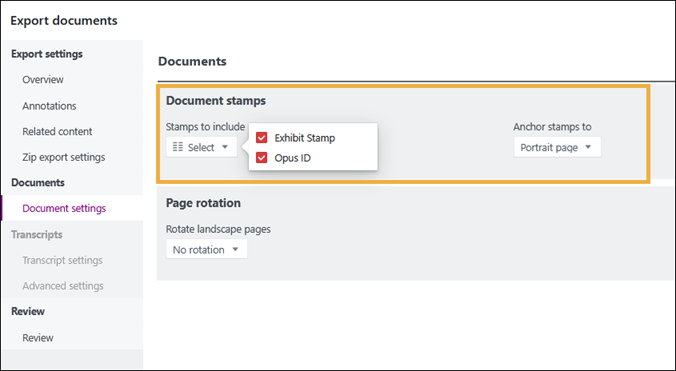
Related links
Related documentation
Opus 2 has help information accessible within the application; click the question mark and then select Documentation in the upper-right area of the platform. You can also access the documentation at: Opus 2 Support.
How to contact us
To contact us about the documentation, or if you have any other questions or issues about Opus 2 solutions, contact Opus 2 Platform Support by emailing Opus 2 Platform Support.